Monday, January 9, 2017

Frosty Cakes

I manage a formal wear shop in the Twin Cities. Each holiday season, I like to find fun/inexpensive ways to treat my staff to treats throughout the season. This year, I brought in a little elf to help me out with the gift giving. 


As a part of this, one of the things that the elf delivered was a little pack of these cute snowmen with snowball bellies. 

These are a fun and inexpensive way to give a little winterized gift to your pals or office mates. Here is how they are done! 


You will need:
double sided tape
glue dots
white cardstock
red paper
black paper
pastel chalks
black pen/marker
hostess cakes (in singles packages)


Using the papers, I cut the white cardstock into a shape using this following base and editing it to a shape I liked for the snowman's face. I found the below template on http://www.cliparthut.com/


With the red paper, I cut out mitten and scarf shapes. With the black, I created a top hat shape.


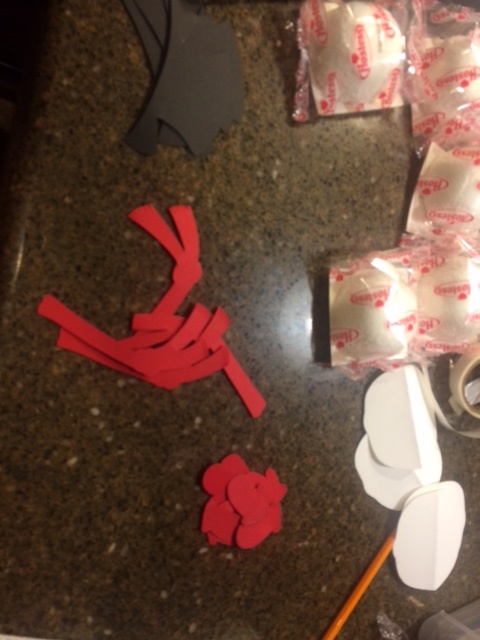
I added some detail to the scarves by placing little lines and fringe onto the scarf with black marker. 


Using the edited frame template, I folded it in half and then added a face to one side of the frame. To add cute little rosey cheeks, I used my scrapbooking chalks to add a little blush to the cheeks. I drew a face onto each one and attached the top hats with double sided tape. 


Then, using the double sided tape, I added the scarf to the back side of the face. 


Folding over the frame template, I added double sided tape to the back of the face and to the other side of the folded frame. Placing the snowball cakes in between the front and back of the folded frame, I pressed each of the sides onto the cakes.

Using the glue dots, I added the mittens. 


And VIOLA! There you have it! a little snowman with a snowball cake belly!

Try it out and be sure to share the photos with me.

Don't have time to make these, but want to give them as gifts? I have a website and will work on any commission-able works you would like to have done! 


LIKE, FOLLOW, SHARE

Monday, January 2, 2017

A Great Way to Tell Time!

A while back when I was looking to put a few projects together for party classes, someone presented a post to me asking if the following project was a possibility. 

I LOVE this fun little way to display a coffee cup and a wine glass.. and a great way to be able to tell time. 


 It is so me and I think it is something a few other people I know might also enjoy! :)

So please enjoy this project on how to make a coffee mug/wine glass holder. :) 


So supply shopping first. I purchased a 8X8 slat board, clothes pins, small wood scrap board, black wood stain, gorilla glue, Cricut vinyl, and a metal coat hook. 


 I purchased the slat panel and the clothes pins at Michael's craft store. 


 I started with the clothes pins and measured the pins onto a small piece of scrap wood my seeing where the stem of the wine glass width would sit. After I marked the spots, I drilled the holes into the small piece of scrap wood at a SLIGHTLY smaller width than the clothes pins so they would fit tightly. I set them into place with gorilla glue and let them dry. 


After the clothes pins had dried in the wood scrap, I finished the clothes pin pieces and the slat board with black wood stain.  Once all dried, I had the pins and the silver coat hook I had chosen for this project that I had from the previous towel rack project. 


 I have to say that I LOVE LOVE LOVE my Cricut machine. It is a piece I have inherited form my mother's generous crafting supply. I measured out what dimensions I would need to fit the wording on and used some of my permanent white vinyl roll and set my Cricut to cut away!


After "weeding" out the pieces I didn't need, I applied the vinyl to transfer paper. Usually if I was going to apply a vinyl piece to anything and it was a simple symbol, or individual piece, I would not need the transfer paper. But for instances like lettering, having transfer paper helps keep the spacing of the letters apart. 


 Once weeded and applied, I rub the lettering onto the board and set it to the slats, having to cut some of the letters through the middle so it would fit between the slats. 


And VIOLA! 

Here it is: A great new way to tell time. :) 

Please enjoy and share! If you create one of these or any variation on the theme, I would love to see yours. 

I also love to create these for anyone else OR host a party for you and your friends to create this craft project for your homes! Contact me and check out my website for other crafting opportunities. 

www.oakgrovecalicocrafts.webs.com 


Until next time!