Tuesday, February 12, 2013

VALENTINE'S DAY BAKING

Felt like making cake pops and cupcakes today to head out for Valentine's Day in a few days to teachers and my husband's staff. YUM!


The cupcakes are chocolate and homemade better cream! Here is my recipe:

1 stick margarine or butter
1/2 c. shortening
4 c. powdered sugar
1tsp vanilla
2T milk

Beat together :)

ENJOY!!!

Wednesday, February 6, 2013

A Valentine's Day Mantle


HAPPY VALENTINE'S DAY !!!
After the holidays, I always have trouble with taking down my decorations because my house seems so naked! One of my biggest struggles from now until fall will be how to decorate my mantle. So with a little hunting and a lot of debate, trial and error etc... I present to you, my Valentine's Day decorating. Starting with this cute pink and red flower topiary! :)

For this project you will need a terra cotta pot, a styrofoam ball, a wooden dowel, a styrofoam base that will fit the pot, ribbon to cover the dowel, hot glue and your choice of flowers. I found that really wide flowers work best and will be less time consuming.

I wanted a really big topiary, so my pot is an 8 inch pot and the styrofoam ball is a 7 inch ball. It took me four bunches of flowers from the flower section of Micheal's to fill the ball.

 The first thing I did was place the styrofoam in the base of the pot. This was stuff I had left over from other projects, so that is why you see holes already in the foam.


Once I was done putting the foam in the base, I decided on the height of my topiary and cut down the wooden dowel to the height. Then using tiny amounts of hot glue and ribbon, I covered the dowel with the silver ribbon.


I then filled the pot with five flower heads and greenery and then placed the dowel in the center of the arrangement. 


Sometimes you need a little tacky glue or low temp hot glue to secure the dowel in the base.


Then I put a little low temp hot glue on the other end of the dowel and firmly pushed the big white Styrofoam ball into the top of the dowel. At that point, you can start cutting the tops of the flower stems off. Make sure about an inch of the flower's stem remains to push into the styrofoam. and begin to place the flowers into the ball. Be sure you don't push them too close together, so it will look crowded and squashed. 


Add a bow to the bottom of the ball and there you have it!!! a valentine topiary!

Once that was done, I added other elements to my mantle like clearance Christmas flowers I found at Jo-Ann fabrics, old broken picture frames that don't have glass anymore, an old window frame, ivy, and white feather butterflies. 


A few new purchases like these wooden letters to spell out L (foam ring with flowers for the "O") V E, a "Be Mine" banner from Target, and sparkly glitter hearts completed the mantle. 


And here is a peek at some of the other decorations I put out for the season!!!


 Happy Valentine's Day everyone! COMING SOON!!!! KITS BY CALICO CRAFTS!!! Buy kits to make some of what you see on my blog!!!


Monday, January 7, 2013

ENJOY A GLASS!

HAPPY NEW YEAR!

So I was taking a day's break from the Holiday events and went to enjoy the wonderful new wine accessories my mother purchased us for Christmas (well, technically, David).  As I enjoyed a bottle of Mommy's Time Out Moscato (appropriate, you think?), inspiration for a new craft struck! TIME TO DECORATE WINE GLASSES FOR MY LADY GUESTS AT OUR NEW YEARS EVE PARTY!!!!


Well, the first trip is to the dollar store to pick up a few wine glasses for the project at hand.
An assortment of varying tipped paint brushes. 


and assorted Gloss Enamels from the craft store. 


The first is the white lines around the glasses and the base of the glasses. This may take a few layers to get it to be not so see-through.


Then the black lines. I decided to go for zebra markings. 


Then the pink lines at top and bottom. That took two layers and also lined the space between the zebra print and pink lines with a fine black line to divide the design up a bit.

Once all dry, I put a small dot of pint on the pink and then a little rhinestone on the rhinestones. 

Then, to set the paint, I put the glasses in the oven (still cold) for 350 and let them sit there for about 25 minutes and then shut off the oven and kept the glasses in the oven until the oven was cold. This helped keep the glasses from breaking due to fast changes in temperature. 


And VIOLA!!! There they are! :)

THEY HAVE TO HAND WASH, but I was happy and female my guests got to enjoy their drinks New Years Eve in the fancy glasses! :)

Try it out and let me know how it works for you! I would love to see the photos!


Friday, December 28, 2012

COUNT DOWN TO CHRISTMAS

As the house continued to get ready for Christmas, the kids get more and more anxious for the count down to Christmas. So this year I made them a count down calendar!

Here is what I did:


I bought three sheets of this magnetic paper stuff from Joann Fabrics.

Little dollar store type toys (whistles, duckies, slap bracelets etc)


 Then using a 12 and 6 cup muffin pan, I measured the holes and used cups and muffin papers to make a circle in teh magnet sheet for each cup hole.


I drilled holes in the top of the muffin pans. 


Then I decorated each of the magnet circles with the number for the day of the month and holiday themed papers etc. 


 Then I filled each muffin cup with trinkets and treats for the kids and labeled which kid got to open which day. When there was an uneven amount of days, I would put three treats in for each of them.


The magnet papers then covered the holes and could be pulled off on the correct day. 


I hung them up on the wall for the kids to see, but not be able to reach. This kids really loved this!
I would like to say this was my idea, but I think someone else did it... I can't remember where I saw it though. If you did this and it is your brain child, please email me so I can properly credit you! 

Friday, December 14, 2012

DECORATING MY HOME!

                     Okay, no tutorial here, but here is my home decorated for the Holidays!


Our living room tree. can you believe I only spent $30 on this tree two years ago?? It was on late January clearance at Menards with all the ornaments etc at the end of the season. It was TRULY hideous then... but I saw the potential. It had enough stuff on it to do this tree, the garland over the door, the mantle and a wreath for our living room... all for 30 bucks!!


Ribbon trees on a side table. I made the trees.


Above our front door on the inside. 


Our presents ended up on the mantle because they were under the tree... but now the tree has someone living under it that is eating the gift wrapping. 

(our bunny is in for the winter and has taken the tree as it's home... it is litter box trained just like a cat so no worries there)


coffee table arrangement I did. 

Living room wreath.


Mantle details. 


My special tree in my craft space with ONLY Women of Today ornaments...and one special one from a pageant queen. 


The server in our Dining Room.


The wine cabinet.


Top of the wine cabinet.


Outside. It looks SOOOO pretty on our deck at night with the lights.... this tree is artificial. An old one I had that has no space in our house and David won't let me put it in our bedroom... so I had him screw it into the deck for the season! Next year, this space will be my focus space for improvement for the decorations.... I can't wait to clearance shop for this one!


Our center island.


Dining room table. 


Antique book arrangement on the table.


Ignore the dishes. Lots of holiday parties here lately. But this is the garland on my kitchen window. Bad photo, but it is right in the window. I hope to take a better one at night for y'all. 


On our wine rack.


Kitchen pantry wreath. 


Bathroom on the main floor.


BAD photo of the garland over the bathroom lights... matches the below tree in the bathroom.


Bathroom tree.

Kids' tree with all our family ornaments and things placed by them. 


Playroom mantle. tutorial later on the 2X4 snowmen!


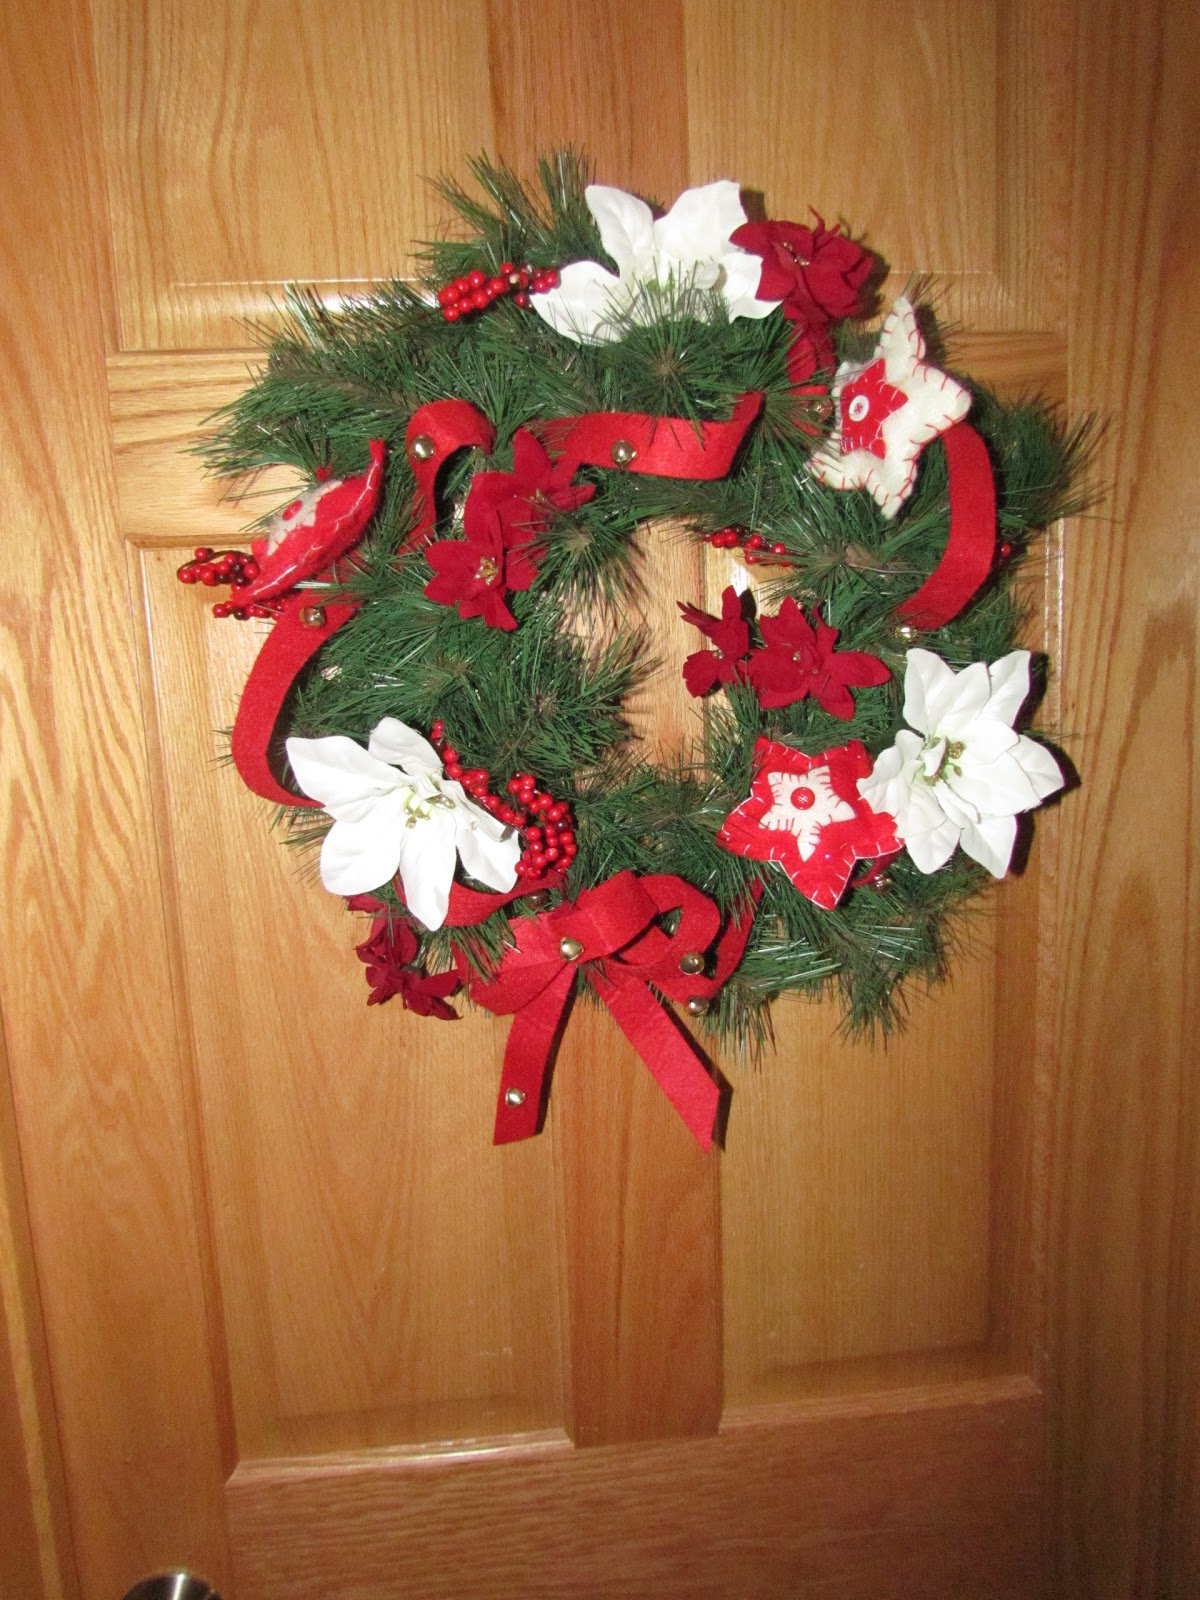
Wreath on the basement bathroom door.


Arrangement in the basement bathroom. 


Garland in the basement guest room. 


Children's Bathroom door upstairs.

Swag over mine and David's headboard.


Tree in our bathroom on the tub's corner ledge.


Swag over our bathroom lights.

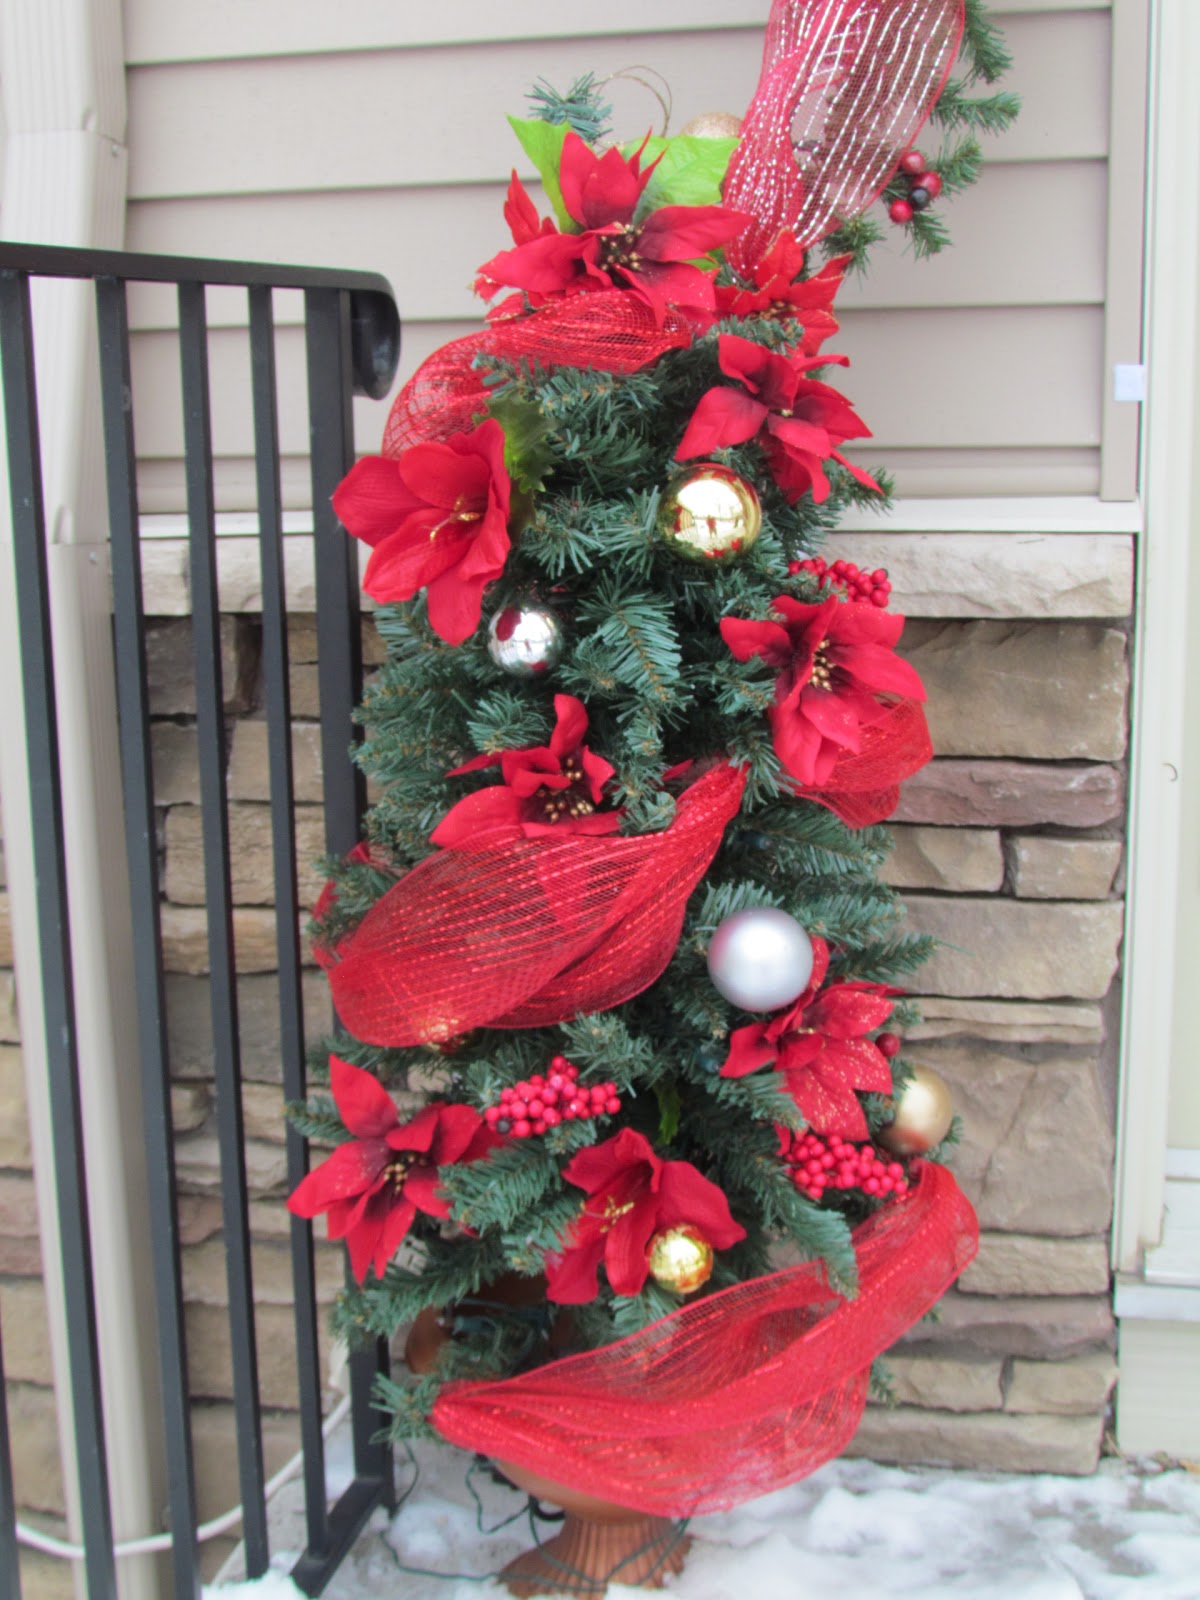
Tree outside on our front steps.

Front door garland.

 Garland detail.

Front door wreath.


Swags under our garage light sconces.


The wreath over our garage. 


Our landscaping trees.


Outside.


Our wreath on our inner garage door.