Tuesday, November 13, 2012

Fall Promises

OKAY, though I can't give any tutorials on these, I LOVE fall for all the colorful florals and swags that go up AND pumpkins!!!! I LOVE PUMPKINS!

So I know I was saying fall posts, and now that the ones I did recently for exec council are done, here is a little tour of my home's decorating for the season.

No tutorials this round, but keep an eye out for my antique book floral arrangement. It is one of my new favorites. It is made a lot like my pumpkin floral arrangement, so you can refer back to that one if needed.

HAPPY FALL EVERYONE!


Purple Teacup Candles and Blue Christmas Trees


So like I mentioned in the post before this one, I had this meeting with Women of Today this last weekend. 

As a part of that, I and this chick, Dawn, (totally cool peeps) give gifts to the nine people we are 'in charge" of during these meetings and events.


We wanted to give them a gift, but budget is always a bit tight and with five meetings like this one a year, it is always important to us to be thinking about the costs of the incentives and gifts we give. So I tried to find a nice gift to give to all of them that wouldn't break the bank.  

So I came up with this: tea cup candles. 

I was able to make these for about 2.00 a cup. 

(keep following on below this tutorial for a how to on how I made a blue Christmas Tree for my good peep, Dawn, for the same meeting)

First, a trip to the Goodwill was in order. I picked up a small assortment of teacups and matching saucers for the range of 30-49 cents each. I used my E6000 to glue the saucers to the cups. 

I also have here on stock candle wicks with the metal bases. 


Next was the wax. I already had some here, but for the ten I made, you would probably need about 2 pounds. I shaved off what I needed from my 5lb block. 


Wax coloring. I didn't have this on hand. I went to MICHAELS to buy it. It was about 6.00 and I used not even a third of it. If you don't want to spend the money on the coloring, I have been told color crayons will also color the wax just fine. I haven't tried it because our crayons are always being used to the last nubs and I couldn't peel them away form teh kids if I wanted to. DON'T USE FOOD COLORING... THIS WON'T WORK!!!


Melt it all together SLOWLY. 


Pour into the teacups and position and stabilize the wicks with skewers or silverware. let cool overnight.


Finally when it was all cooled, I wrapped them in cellophane and  tied a tea bag to them for effect. :)


As always, share with me if you try this and show me your results!


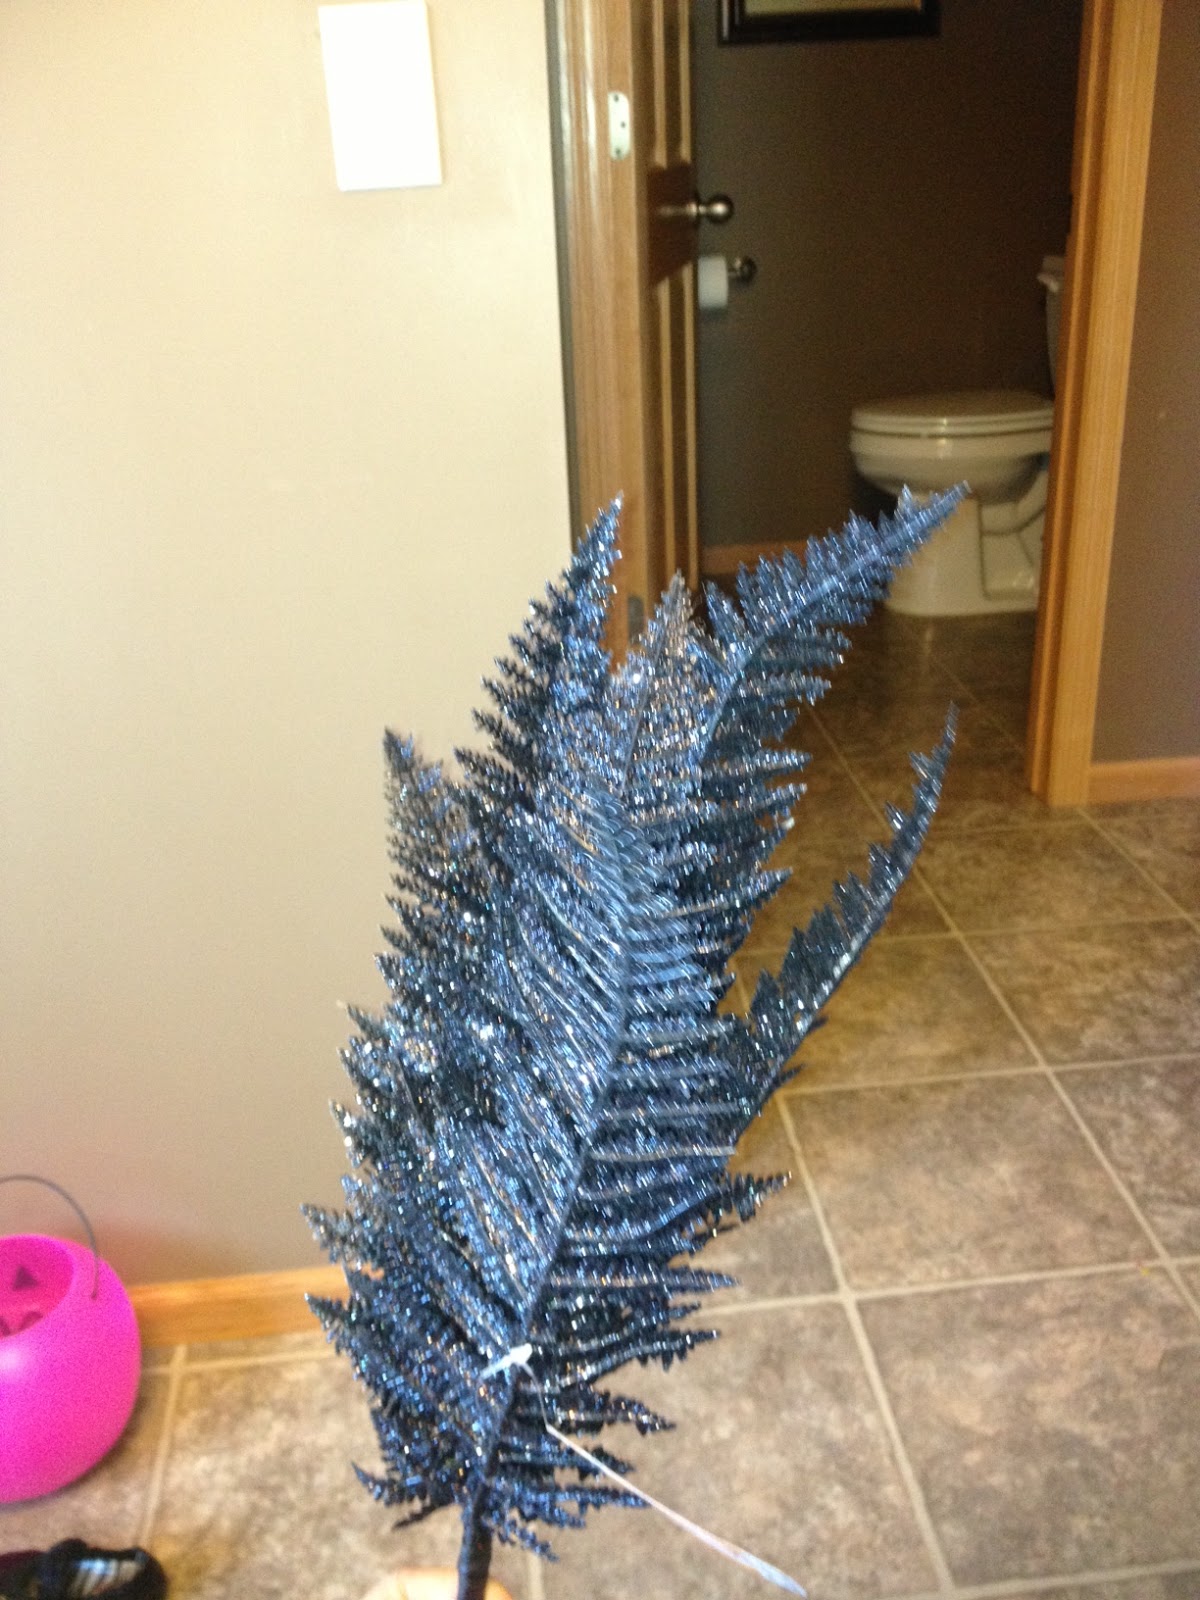
So once those were finished, the Blue Christmas tree for Dawn. I had these items all on hand and wanted to give her a little Christmas treat too! I LOVE Christmas decorations and thought a tree was just what she needed. Knowing she had some decorating done in her house that was blue, I thought it would be just right!

So if you havne't read it before this, I am a clearance shopper... BIG TIME! I LOVE post season sales and I picked up quite a bit of stuff at teh craft stores last year after Christmas. This is one of a few of this tree that I picked up after the Holidays. I got it marked down from 10.00 to 1.25!

The burlap HAD TO go for this project though and luckily, it was just tied on.  


I had this silver fabric that was just eh right size for it, so I used that for the base covering instead. It did have a silver front and white backing, so I doubled up the fabric so mostly silver would show. 


 Using the Blue ribbon shown, I tied the new covering on with a cute little bow then trimmed up the extra so the ribbon didn't hit the base of the tree.


 I had this really great snow flake ribbon that I am pretty sure was on a package I got last year to trim up the tree.


I had this really cute bird that I got in a basket of clearance ornaments for 5.00 (there HAD TO be at least 60 ornaments in this basket! I was a total steal!) The only problem with this bird was that she happened to be missing an eye. So I removed the other one shw was missing and did this:


I took my quilting pins (yes, I don't know how to quilt, but love the colored heads on the pins. It makes it easier to find them in projects where you pinned something together) and found two black ones. 

I stuck 'em into the bird where I could see the glue was left behind by the old eyes and then pushed them into the bird !


I wonder if this bird was kinds traumatized afterward, because after sticking pins in its head, I put a stick up its rear. (poor thing) This little guy needed a good way to perch on the branches and a pick was the best way. I used some old floral stem wire to do this. 


              See? That wasn't so bad now was it? Now the bird has a happy home atop the tree.


I next took white poinsettias, blue glitter snowflakes and silver light bulbs and placed them in the tree. 


            Finally an assortment of white foam snowballs and glittered and sequined branches went in.


 Here she is all finished up for Dawn!  I LOVE to decorate Christmas trees and will have a few to show you in the up coming season! Have a favorite tree of your own? Take a photo and share!


Chocolate Snowmen

So this last weekend I was gone for Women of Today. I am on the State Staff this year as the External Vice President. (Those of you who have never checked out Women of Today, TOTALLY should. I kinda love it. www.mnwt.org)  ANYWHO... part of being on the state staff means that there are some extra weekend meetings. This one in particular is the Mid-year executive council weekend. Traditionally, it was in December until the calendar changed for us and now it is in November. So we still celebrate the holidays, but they are a little early being that Thanksgiving hasn't even arrived.

So I apologize for the next few posts that are going to be NOT related to fall or Thanksgiving at all, but will be all aout now men, holiday gifts and Christmas trees. Please enjoy and note that I promise a turkey craft in the very near future. 

I can not claim this idea as my own, it came from pinterest, with a few adjustments for me. 


To start this project, I cut out 6 in wide strips of polar fleece, then folded then in half and sewed zig zag stitch up the side with very little seam allowance.


 I then took the really long lengths and cut them to be 6 inches long. (I was making about 40 of these, so I could get about 10 out of a strip of polar fleece.)


Then, making them about 5 1/2 inches long and 5 1/5 inches tall, I drew a snowman on each  piece of paper, slightly off center. The place I found this had a print off available for this, but I was out of ink, so I decided to get them done and just draw them on. Once I got the image down, It really only took me about 45 minutes to make all the faces on the papers. 


This craft is made for the standard size candy bar. wrap the paper around the candy bar and tape at the back. then take the 6 inch strip of polar fleece and flip it out so the seam is in the inside. flip the edge twice for a hat brim and then place it on the chocolate bar, over the paper. once positioned, tie off the top of the hat and then cut it to the tied portion to make little hat fringes.  

Cut another very thin piece of polar fleece 12 inches long and less than an inch thick.

Tie it around the chocolate bar where the snowman would have a scarf and then also cut it for a little fringe. 

and......


THERE THEY ARE! Soooo cute! I sure do hope my executive council enjoyed them!

As always, try it out and then send me a photo! I would love to see what you did!


Friday, November 2, 2012

FALL DECORATING!


I love fall and enjoy decorating the house for it. Something about it just seems so warm and friendly. So here is my mantle today! HAPPY FALL Y'ALL!


Thursday, November 1, 2012

Witch Hat Fascinators


So I had a lot of left over scraps of fabric and trims from all the Halloween costumes that I made this year. 

What's a girl to do??? 

I was heading out Hallowe'en night with the family and some friends to trick or treat.  I think it is a great time to make a few witch hat fascinators for the ladies of the Hallowe'en evening's events!


I had leftover fabrics, trims, stabilizer and more from various costumes. I took the stabilizer and made three cricles using the bucket shown on the top portion of the photo and then three half circles just about double the size of the full circles. 


Using hot glue, I glued the circle to the fabric I chose. In this case it was a crushed velvet that I had used on the vampiress costume I made earlier this month for a young girl. after cutting around the circle leaving about a 1 1/2" edge, I fold all the excess over the other side of the circle and glue it securely.


Then the half circle. I fold over a little bit to the flat edge and everything else gets cut flush to the rounded side of the stabilizer.


I then roll the half circle around to create a cone. My half circles weren't  perfect and I found them just a hair bigger than I wanted, so i did cut off a little bit and trim them after I glued it together to get the desired size I wanted. then pinned it in place at the crease so I could wait for the hot glue to cool. 

Then I glued the circle to the cone and let them all cool.

The bottom is now in need of a hole so I can later attach the headband more effectively.  I used my exact-o blade and a little scissor.


 I chose a few trims that I had in my craft box (laces, sequins etc) and then a few Hallowe'en floral sprays  that I got on clearance a few days ago at Michael's for about 80 cents each.


 When the decorating was all done, I glued the headband to the sides of the hole in the bottom of the hat.


                                                               Here are the three completed hats.


All ready to head out for the night! :)

Can you make a hat that would work for Thanksgiving???  Send me a photo of your creation! missmidwestmn@hotmail.com